Table of Contents
Hôm nay mình sẽ note lại quá trình tìm hiểu plugin QGIS (updating this post)
Cài plugin builder
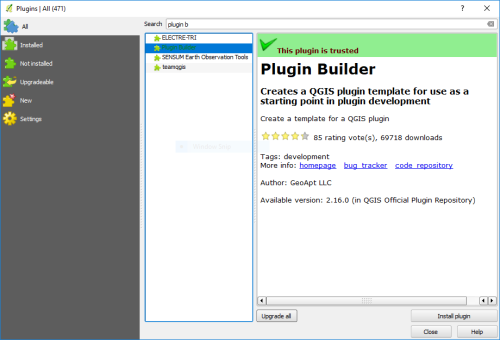 Cài plugin Builder[/caption]
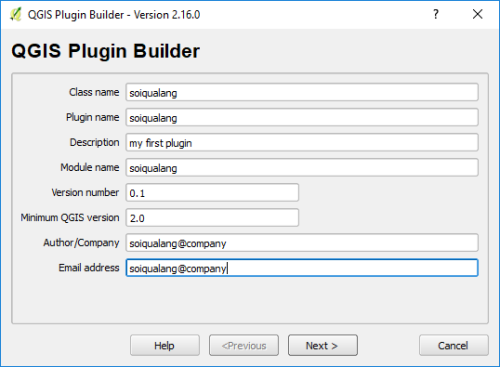 Cài plugin Builder[/caption]
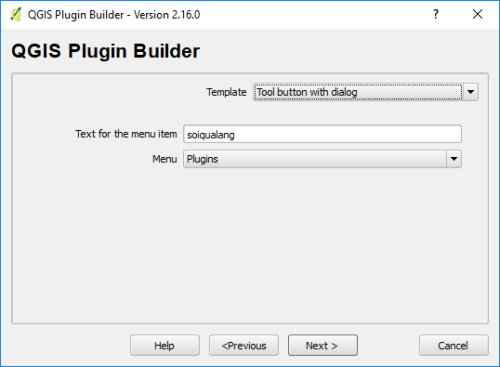 Cài plugin Builder[/caption]
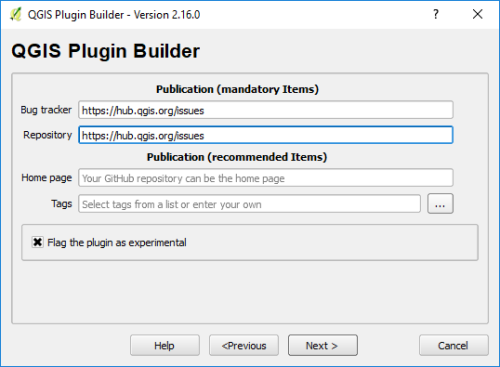 Cài plugin Builder[/caption]
c:\Users\username.qgis2\python\plugins
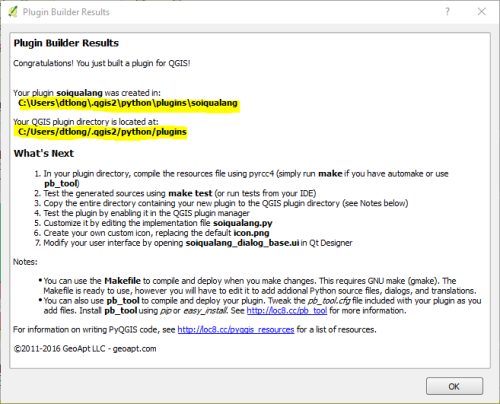 Cài plugin Builder[/caption]
pyrcc4 -o resources.py resources.qrc
pyuic4 -o soiqualang_dialog_base.py soiqualang_dialog_base.ui
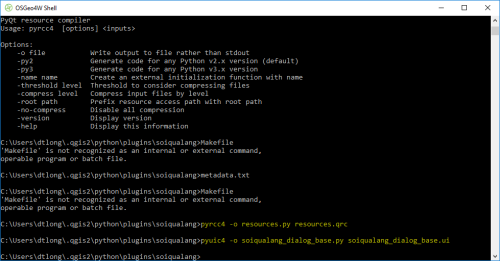 Compile the resources file using pyrcc4[/caption]
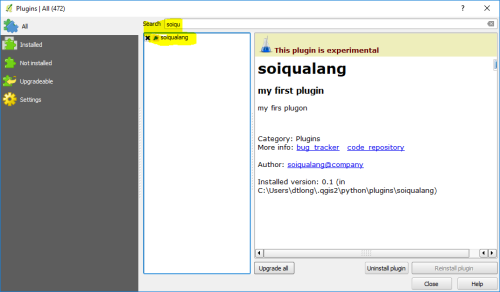 Load plugin vào QGIS[/caption]
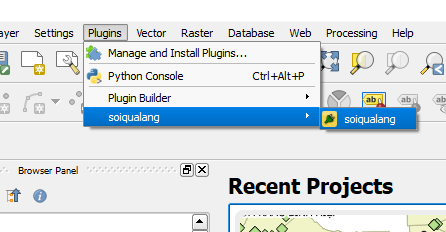 Load plugin vào QGIS[/caption]
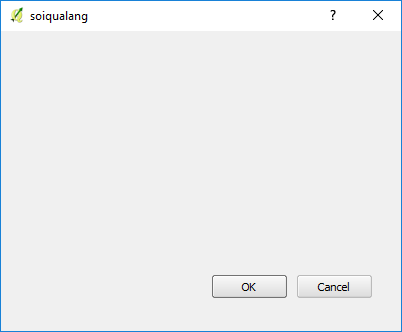 Load plugin vào QGIS[/caption]
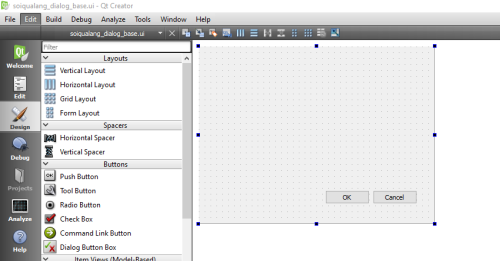 Mở file *.ui trong thư mục plugin[/caption]
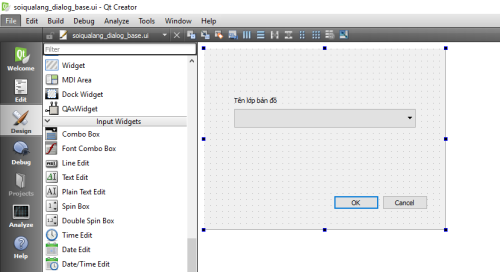 Thêm combo box và label[/caption]
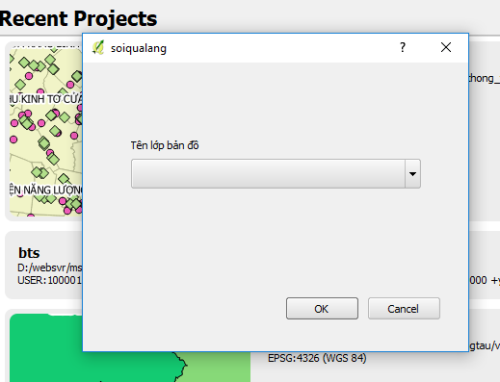 Thêm combo box và label[/caption]
from qgis.core import *
import qgis.utils
layer=qgis.utils.iface.activeLayer()
print(layer.featureCount())
print(layer.source())
print(layer.name())
for lyr in QgsMapLayerRegistry.instance().mapLayers().values():
   print(lyr.name())
#add layer
layer1=QgsVectorLayer(“C:/Users/dtlong/Desktop/pyqgis_code_data/pyqgis_data/alaska.shp”,“layer_name_you_like”, “ogr”)
QgsMapLayerRegistry.instance().addMapLayer(layer1)
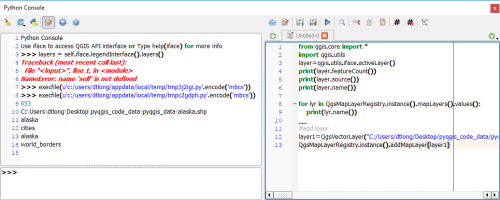 Một số code Qpython dùng console[/caption]
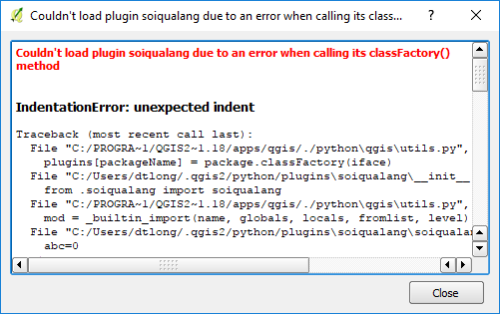 Lỗi unexpected indent khi edit python trên Notepad++[/caption]
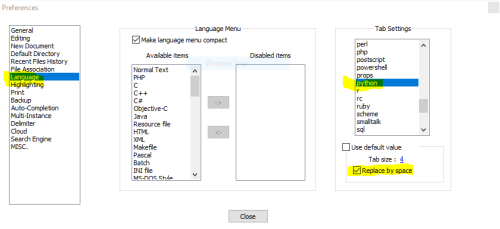 Lỗi unexpected indent khi edit python trên Notepad++[/caption]
Dùng phương thức addItem Ta sẽ get all layers hiện đang mở, sau đó chạy vòng lập để gán vào comboboxself.dlg.layerCombo.addItem( ‘hahaha’, 'hohoho’ )Với layerCombo là tên combobox
lyrs=QgsMapLayerRegistry.instance().mapLayers().values()
for lyr in lyrs:
     self.dlg.layerCombo.addItem( lyr.name(), lyr )
 Thêm lựa chọn cho combobox[/caption]
0: Cancel 1: Okif result==1: # Do something useful here - delete the line containing pass and # substitute with your code. index=self.dlg.layerCombo.currentIndex() layer = self.dlg.layerCombo.itemData(index) QMessageBox.information(self.iface.mainWindow(),“hello world”,“%s has %d features.” %(layer.name(),layer.featureCount())) pass if result==0: QMessageBox.information(self.iface.mainWindow(),u"Tiêu đề cancel",u'Khang bị khùng’)
Cách gán sự kiện cho 1 thành phần trên giao diện
 Cách gán sự kiện cho 1 thành phần trên giao diện[/caption]
 Ta sẽ gán sự kiện mở hộp thoại chọn file cho nút …[/caption]
Gán hàm mở file cho nút … Ta sẽ gán sự kiện onclick cho nút pushButton vào trong hàm add_actiondef selectoutput(self): fname = QFileDialog.getSaveFileName(self.dlg, “Select output file ”,“”, ’*.txt’) self.dlg.lineEdit.setText(fname)
Kết quả:#them su kien click vao nut … self.dlg.lineEdit.clear() self.dlg.pushButton.clicked.connect(self.selectoutput)
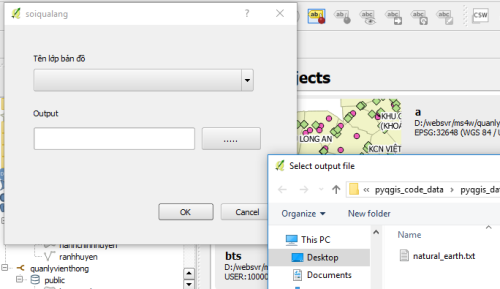 Gán hàm mở file cho nút …[/caption]
Hết ngày hôm nay, mai làm tiếp :v
soiqualang_chentreu
Bài viết rất bổ ích! Mình rất vui khi được copy toàn bộ website này về website mình nếu được sự đồng ý của anh Long Đẹp Trai! @@