Table of Contents
https://canhme.com/ovh/vps-ssd-gia-tu-2-5-usd/
Mọi người cũng có thể xem cách tắt tự động thanh toán mình đã note lại ở đây
http://q2a.dothanhlong.org/?qa=89/tắt-tự-động-thanh-toán-vps-ovh-deactive-automatic-payment Đây là lần đầu tiên mình có một con VPS chạy linux nên còn khá bỡ ngỡ, kaka :v Do vậy kinh nghiệm khi sử dụng mình sẽ note lại ở đây :p Đầu tiên và cũng thắc mắc nhất là cách login vào serverLogin to Linux VPS
Do đây là server linux nên mình cũng xác định ngay từ đầu là phải chạy command rồi Trước có dùng VPS của RedHat nên cũng có biết chút chút. Các bước như sau-
Download Putty
-
Login
Putty
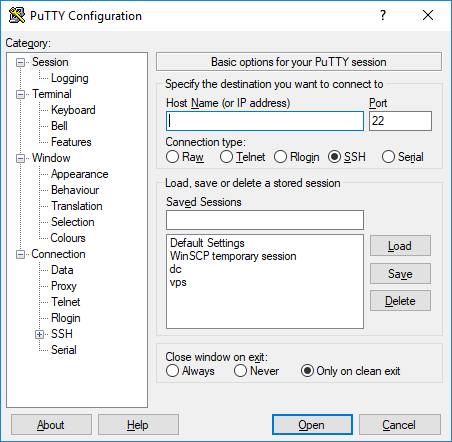
Download Putty:https://www.putty.org/[caption id="attachment_537" align="aligncenter" width="452"]
 putty[/caption]
Đây là giao diện của putty
Chúng ta cần nhập địa chỉ Server vào mục Host name (or IP Address)
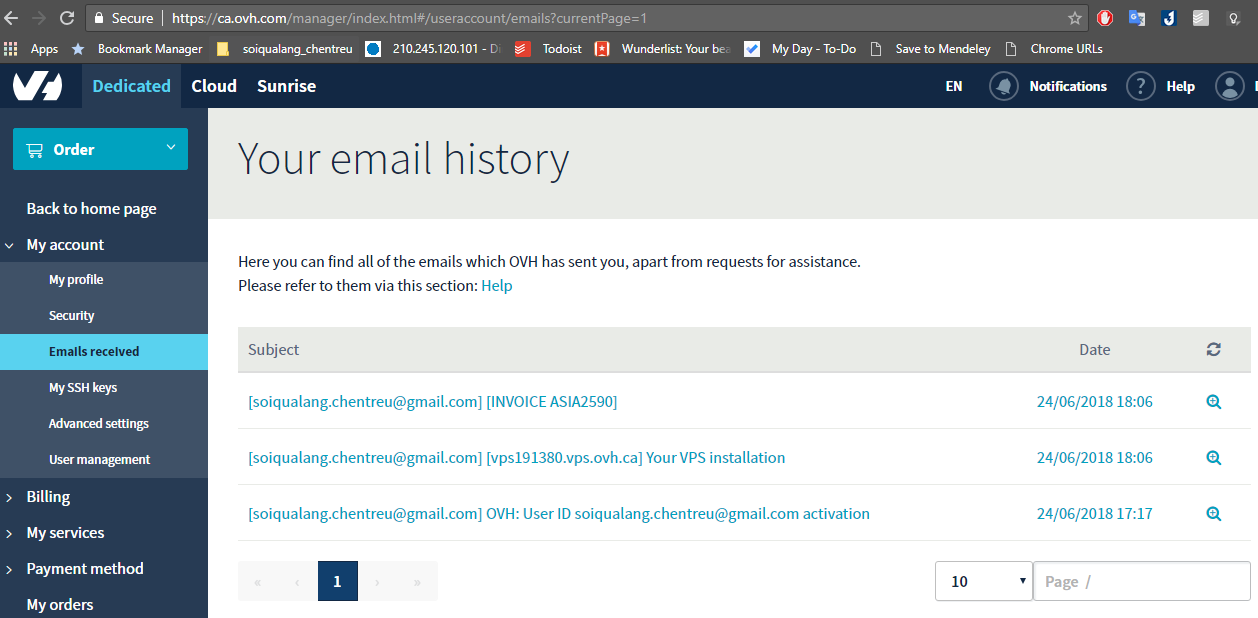
Cái này phải check mail hoặc vô mục quản lý mail của OVH sẽ có thông tin truy cập VPS
[caption id="attachment_538" align="aligncenter" width="1258"]
 Quản lý email của OVH[/caption]
Trong đó quan trọng nhất chỗ:
Your VPS has just been installed on the following operating system/distribution Debian 9 (Stretch) (64-bit version) ACCESS SETTINGS: Your VPS's IPv4 address is: 139.xx.xx.xxx Your VPS's IPv6 address is: 2402:xxxx:xxxx:xxxx:xxxx:xxxx:xxxx:xxxx Your VPS name is: vpsxxxxxx.vps.ovh.ca The following administrator account has been configured on the VPS: Username: abc Password: *********Chúng ta dùng thông tin VPS name để điền vào Putty
Putty-Login VPS
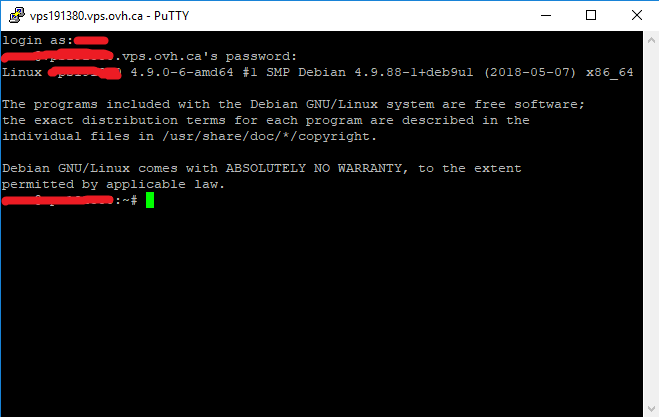
Sau khi nhập thông tin vào Putty và chọn Open, chúng ta sẽ được chuyển đến cửa sổ command yêu cầu đăng nhập với user và pass Chúng ta lần lượt nhập Username và Password đã được cấp Giao diện sau khi đăng nhập thành công sẽ như sau: [caption id="attachment_540" align="aligncenter" width="659"] Login VPS Putty[/caption]
Đến đây là bạn đã đăng nhập thành công VPS rồi. Còn để sử dụng chúng ta sẽ cần học một số lệnh linux để thông qua cửa sổ putty command này mà cài đặt hay cấu hình con VPS của chúng ta.
Chúc các bạn làm được.
Thân!
--soiqualang.chentreu--]]>
Warning: Undefined variable $comments_number in /shared/webdir2/dothanhlong.org/wp-content/themes/business-hub/comments.php on line 35
Warning: Undefined variable $comments_number in /shared/webdir2/dothanhlong.org/wp-content/themes/business-hub/comments.php on line 39
0 thoughts on “Login to VPS Linux (Debian) host by OVH”